|
3 Additional Newbie Self-Publisher Tips
From a Fellow Newbie's Experience
|
In the previous few articles, I reviewed my newbie experiences with self-publishing. Since I've published my third book and still have some hair left, there's more to share.
Again, I'm not a publishing guru; I'm just sharing tips as I go through the process.
If you've published paperbacks, you understand that your book can be uploaded in digital format as an eBook.
I started in reverse. My first book was an eBook. After publishing an eBook, I learned to publish paperbacks.
However, once I mastered (yeah, right) the ability to publish a paperback, I changed the order in which I publish books:
- My books are written for Paperback publishing first
- Then, that same book is uploaded as an eBook
I prefer doing paperback books first. The physical copy is more detailed and takes more care in its design.
When doing an eBook, you upload your completed book document to KindleCreate. Again, read this article for a little bit about KindleCreate and eBook preparation.
Three Tips to Pass Along:
1. Kindle Create - What I Learned the Hard Way with the Third Book
If your manuscript/book document has anything in List Format, for example, 1, 2, 3, etc., when you upload it to KindleCreate, KindleCreate doesn't let you modify Lists. You have to have it exactly as you want before uploading or not using a list format.
My book had 160 items in List Format. To get around the lists for the eBook version, I typed the numbers in brackets and put them above the typed item. I didn't use the auto-format of 1.2.3. in the toolbar. However, beware; even if you type 1. versus using the word processing numbering format in the toolbar, you still won't be able to modify that list in KindleCreate.
Oh, and the same goes for Tables in KindleCreate: They can't be modified once uploaded to KindleCreate.
Maybe KindleCreate will change these restrictions down the road?
2. Get Your Amazon Author Page Completed
I decided to wait until I completed three books before doing my Author page. However, there's no need to wait. If you only have one book, go for it.
The Author page has five key elements:
- Upload your photo or any photo(s) you prefer for the page
- Add your books to the page (easy, automatic process)|
- Write a Bio on yourself - Take some time to do this (see the tip below)
- Upload any videos you have that relate to you or your books
- Add an RSS feed from your blog, Pinterest, or another place that connects to your Business
Regarding the Amazon Bio, take advantage of this article; it's filled with excellent tips. It provides guidance on how your Bio should sound and what you should say. You can follow me on my newly created author page. If you prefer a video tutorial on how to complete an Author Page, this one is helpful:
I have yet to use a professional graphic artist to create covers. For now, Amazon's Cover Creator is still my go-to tool. What I learned from this third book is that size matters. If you want your book to have written details on the Spine, you must ensure it's approximately 100 pages. This last book was less, about 65 pages, and thus couldn't have the title on the Spine.
I'll keep most of my books to at least 100 pages to avoid this. You don't have to if you don't want to; it's up to you.
I'll keep most of my books to at least 100 pages to avoid this. You don't have to if you don't want to; it's up to you.
Here are my article tips to date:
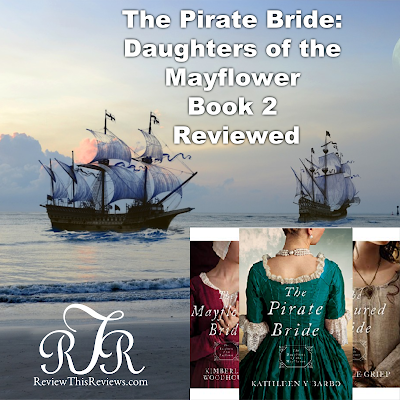
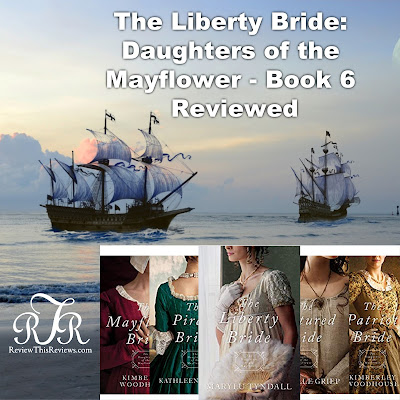
Here's my completed third book, and yep, I'm working on the fourth.

Note: The author may receive a commission from purchases made using links found in this article. “As an Amazon Associate, Ebay (EPN), Esty (Awin), and/or Zazzle Affiliate, I (we) earn from qualifying purchases.”
FOLLOW US ON: