I also have used the T-Fal 5 quart Dutch Oven for many years. I cook in it several days a week.
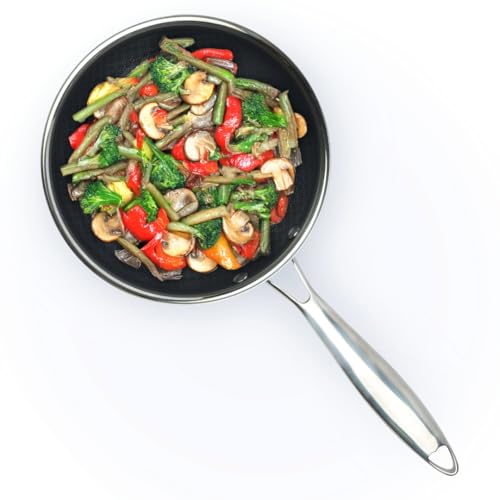
A little over a year ago, I discovered the larger 5 quart T-Fal skillet while shopping at our local Target store. I bought it immediately. This skillet has changed the way I cook. Previously, I made my spaghetti sauce in my taller T-Fal Dutch Oven, but I have found that I actually prefer making it in the shorter sided 5 quart skillet. The skillet comes with a glass lid so I can see the sauce simmering and gauge when to stir it. I also started using this skillet for making the sauce for Manicotti or Lasagna. I can fry the pound of meat needed and adding the sauce & seasonings without having to transfer it to the dutch oven.
T-Fal cookware has a non-stick coating which really does reduce burning and makes everything much easier to clean. It pretty much wipes clean before I even start washing it.

The T-Fal 5 Qt Skillet with Glass Lid
T-Fal Nonstick Saute Pan with Glass Lid 5 Quart, Oven Safe 350F, Deep Frying Pan with Handle, Skillet, Dishwasher SafeCheck Price T-Fal cookware is dishwasher safe, which is another reason why I love it. The dishwasher does a better job of eliminating food bacteria than I can do washing by hand.
The non-stick coating reduces the amount of oil needed when cooking.
- Non-Stick Coating
- 2.9 inch Depth
- Stay-Cool Handle on each side for easy lifting/moving
- Tempered Glass Lid
- Even Heat Base reduces hot spots
- Dishwasher Safe
- Oven Safe - up to 350°
Even though I prefer the T-Fal non-stick coating, there are a few considerations when cooking in it. You can not cook on higher heat (500° or above) when using T-Fal cookware. Also, I do not stir with metal utensils or use knives in my T-Fal pans because they will scratch or cut the non-stick coating. Once the coating gets damaged, the pan must be replaced.
Read More Product Reviews On
ReviewThisProducts.com