I posted a photo of these quick & easy Cheddar Corn Dog Muffins on social media recently and many people commented asking me for the recipe. So, by popular demand, I'm sharing and reviewing my quick and easy recipe for these mouthwatering, keto-friendly, low carb Cheddar Corn Dog Muffins.
My husband loved these so much he couldn't wait for me to make them again!

I wanted a quick and easy recipe for weeknights, so I used Good Dee's Corn Free Bread Mix, which is excellent and has clean, wholesome, healthy ingredients.
However, you could easily make this recipe with your favorite low carb or conventional cornbread or corn muffin recipe instead of the prepared Good Dee's Corn Free Bread Mix, if you prefer. You can also substitute another favorite shredded cheese for the cheddar. See Recipe Variations, below, for more information and variations.
Enjoy!
Recommended Tools and Equipment
I like to use reusable silicone baking cups AKA muffin tin liners lightly sprayed with avocado or olive oil for these cheddar corn dog muffins. Baked goods are released from these cups very easily, and they help keep leftover muffins or cupcakes fresher during storage. These silicone liners are also very easy to clean, especially if you spray them lightly with oil before adding the batter.
The silicone liners I use for this recipe (I have two types) are the GIR: Get It Right Premium Silicone Cupcake Liners Reusable Non-stick Baking Cups, which have a slightly larger capacity than my heavy-duty standard silicone baking cups and also have helpful tabs for lifting muffins or cupcakes in or out of the pan without accidentally touching or marring the tops. The set I have is in the Strawberry Swirl colorway (shades of red, pink, and pale gray), but they also come in a pretty Frosty Mint colorway (shades of dark and pale blue and green).
 |
| The handy tabs on the large GIR silicone baking cups make it easy to lift the filled liners in and out of the muffin pan. |
I prefer to use these silicone baking cups as liners in a nonstick muffin pan, which helps distribute the heat evenly and helps keep the muffins shaped nicely, while the nonstick pan finish helps prevent any stray bits of batter or cheese from sticking. Chicago Metallic is an excellent brand; I have a couple of specialty (jumbo and mini) muffin pans from them and they're great. Since my standard nonstick cupcake pans are getting a bit long in the tooth, when it's time to replace them I'll be buying the Chicago Metallic Commercial II Non-Stick 12-Cup Muffin Pan.
I use a three-tablespoon scoop to measure out the batter, using one rounded scoop of batter for each muffin cup. I have a set of Norpro stainless steel measuring scoops that I love and use all the time, and the 50MM (3 Tablespoons) Norpro Stainless Steel Scoop is perfect for this recipe.

|
| I use Good Dee's Corn Free Bread Mix along with eggs, butter, apple cider vinegar, cornbread flavoring, cheddar cheese, hot dogs, and avocado oil spray in this recipe, but you can also substitute other ingredients (see Recipe Variations). |
Cheddar Corn Dog Muffins Recipe

Prep Time: 10 minutes
Cook Time: 18 minutes
Total Time: 28 minutes
Servings: 12 (one muffin per serving)
Ingredients
For the Cheddar Corn Dog Muffins:- Avocado or olive oil spray (for greasing muffin pan liners)
- 3 large eggs
- 3 Tablespoons salted butter, melted and cooled
- 1 Tablespoon apple cider vinegar
- 1 Tablespoon Amoretti Sweet Corn Extract or 20 drops of OOOFlavors Corn Bread Flavor Concentrate Unsweetened
- 1 package Good Dee’s Corn Free Bread Mix
- 4 ounces sharp cheddar cheese, grated
- 3 hot dogs, fully cooked (I recommend Applegate Farms brand The Great Organic Uncured Beef Hot Dogs)
- 2 Tablespoons sugar-free ketchup (Primal Kitchen regular or spicy unsweetened ketchup)
- 2 Tablespoons sugar-free raspberry jam (ChocZero No Added Sugar Raspberry Jam)
- 1 Tablespoon teaspoon Dijon mustard
Instructions
- Preheat oven to 325 F. Lightly grease 12 silicone muffin cup liners and place in a muffin tin.
- In a mixing bowl, whisk together the eggs, melted butter, vinegar, and cornbread flavoring or sweet corn extract. Stir in the Good Dee’s Corn Free Bread Mix until well combined.
- Reserve 4 Tablespoons (1/2 cup) of the grated cheese and mix the remaining cheese into the batter.
- Divide the batter evenly among the greased muffin tin liners.
- Slice each hot dog into four sections. Place one section on end in the center of each batter-filled muffin cup, then sprinkle each muffin with 1 teaspoon of the reserved shredded cheddar cheese.
- Bake until lightly golden, approximately 18 minutes. Do not overbake or the muffins will be dry.
- Allow to cool in the pan for 15 minutes, then remove the silicone muffin cup liners and serve, with or without optional dipping sauce.
Optional dipping sauce:
Mix the sugar-free ketchup (Primal Kitchen), sugar-free raspberry jam (ChocZero) and Dijon mustard. Serve 1.25 teaspoons of dipping sauce with each cheddar corn dog muffin.
Nutrition Facts
Serving size: one Cheddar Corn Dog Muffin (without optional dipping sauce)
Calories: 189
Fat: 16.3 g
Sat. Fat: 5 g
Cholesterol: 70.3 mg
Total Carbs: 6.3 g
Net Carbs: 1.3 g
Fiber: 5 g
Sugars: 0 g
Added Sugars: 0 g
Sugar Alcohols: 0 g
Protein: 8.6 g
Recipe Variations
- If you want some hot dog in every bite, consider dicing the hot dogs and mixing them into the batter instead of inserting 1/4 hot dog into the center of each muffin.
- If you're not a fan of cheddar, consider substituting another cheese such as shredded Swiss, provolone, or gouda.
- If you want to make this low carb cheddar corn dog muffins recipe entirely from scratch instead of using a mix, try the Keto Corn Dog Bites recipe from All Day I Dream About Food but mix in the shredded cheddar before scooping the batter and add the shredded cheese topping before baking.
- Alternatively, you could substitute a conventional corn muffin mix or recipe for the corn dog batter if you aren't watching your carbs.

|
| Cheddar corn dog muffins, fresh from the oven! |
Quick, Easy & Delicious Cheddar Corn Dog Muffins — Low Carb Recipe by Margaret Schindel
Posts About My Keto Diet Journey
My First Year on The Keto Diet
Preparing to Succeed on the Keto Diet, Part One
Preparing to Succeed on the Keto Diet, Part Two
Low Carb Muffins & Cupcakes: Treats to Enjoy on a Keto Diet
Low Carb Keto Chocolate Yogurt Granola Chip Pudding Recipe
Good Dee’s Keto Cookie Low Carb Baking Mix Review
Hamama Microgreens Growing Kit Review & Success Tips
My Favorite Hamama Microgreens Seed Quilt Accessories
Keto Cheddar Cheese Biscuits With Chives Recipe
The Ultimate Keto Hot Chocolate Recipe
The Best Low Carb Keto Gift Ideas: Keto Gift Guide
The Best Low Carb Keto Cinnamon Muffins
Wholesome Yum Keto Bread Mix and Yeast Bread Recipe
The Good Chocolate 100% Organic No Sugar Dark Chocolate Review
The Best Advice to Maintain Your Keto Diet Weight Loss
My New Irresistibly Delicious Keto Cheese Crackers Recipe
Luscious Low Carb Keto Triple Peppermint Cheesecake Brownies Recipe
Quick & Easy Livlo Blueberry Scones Keto Baking Mix Review
Snack Better With The Best Healthy Keto Cookie Dough Bites
The Best Quick and Easy Low Carb Keto Pizza Recipe
The Best Quick and Easy Low Carb Keto Shortcake Cupcakes Recipe
Comparing the Best Keto-Friendly Chocolate Hazelnut Spreads - No Added Sugars
The Best Low Carb Keto Sandwich and Burger Buns Mix
Blueberry Biscuit Scones — New, Easy, Low Carb Keto Recipe
The Best Keto Pizza Crust Mix With 0 Net Carbs
An Unusual, Delicious Strawberry Chocolate Tea With 0 Calories
Delicious Sugar-Free Keto Cookies That OREO Fans Will Love
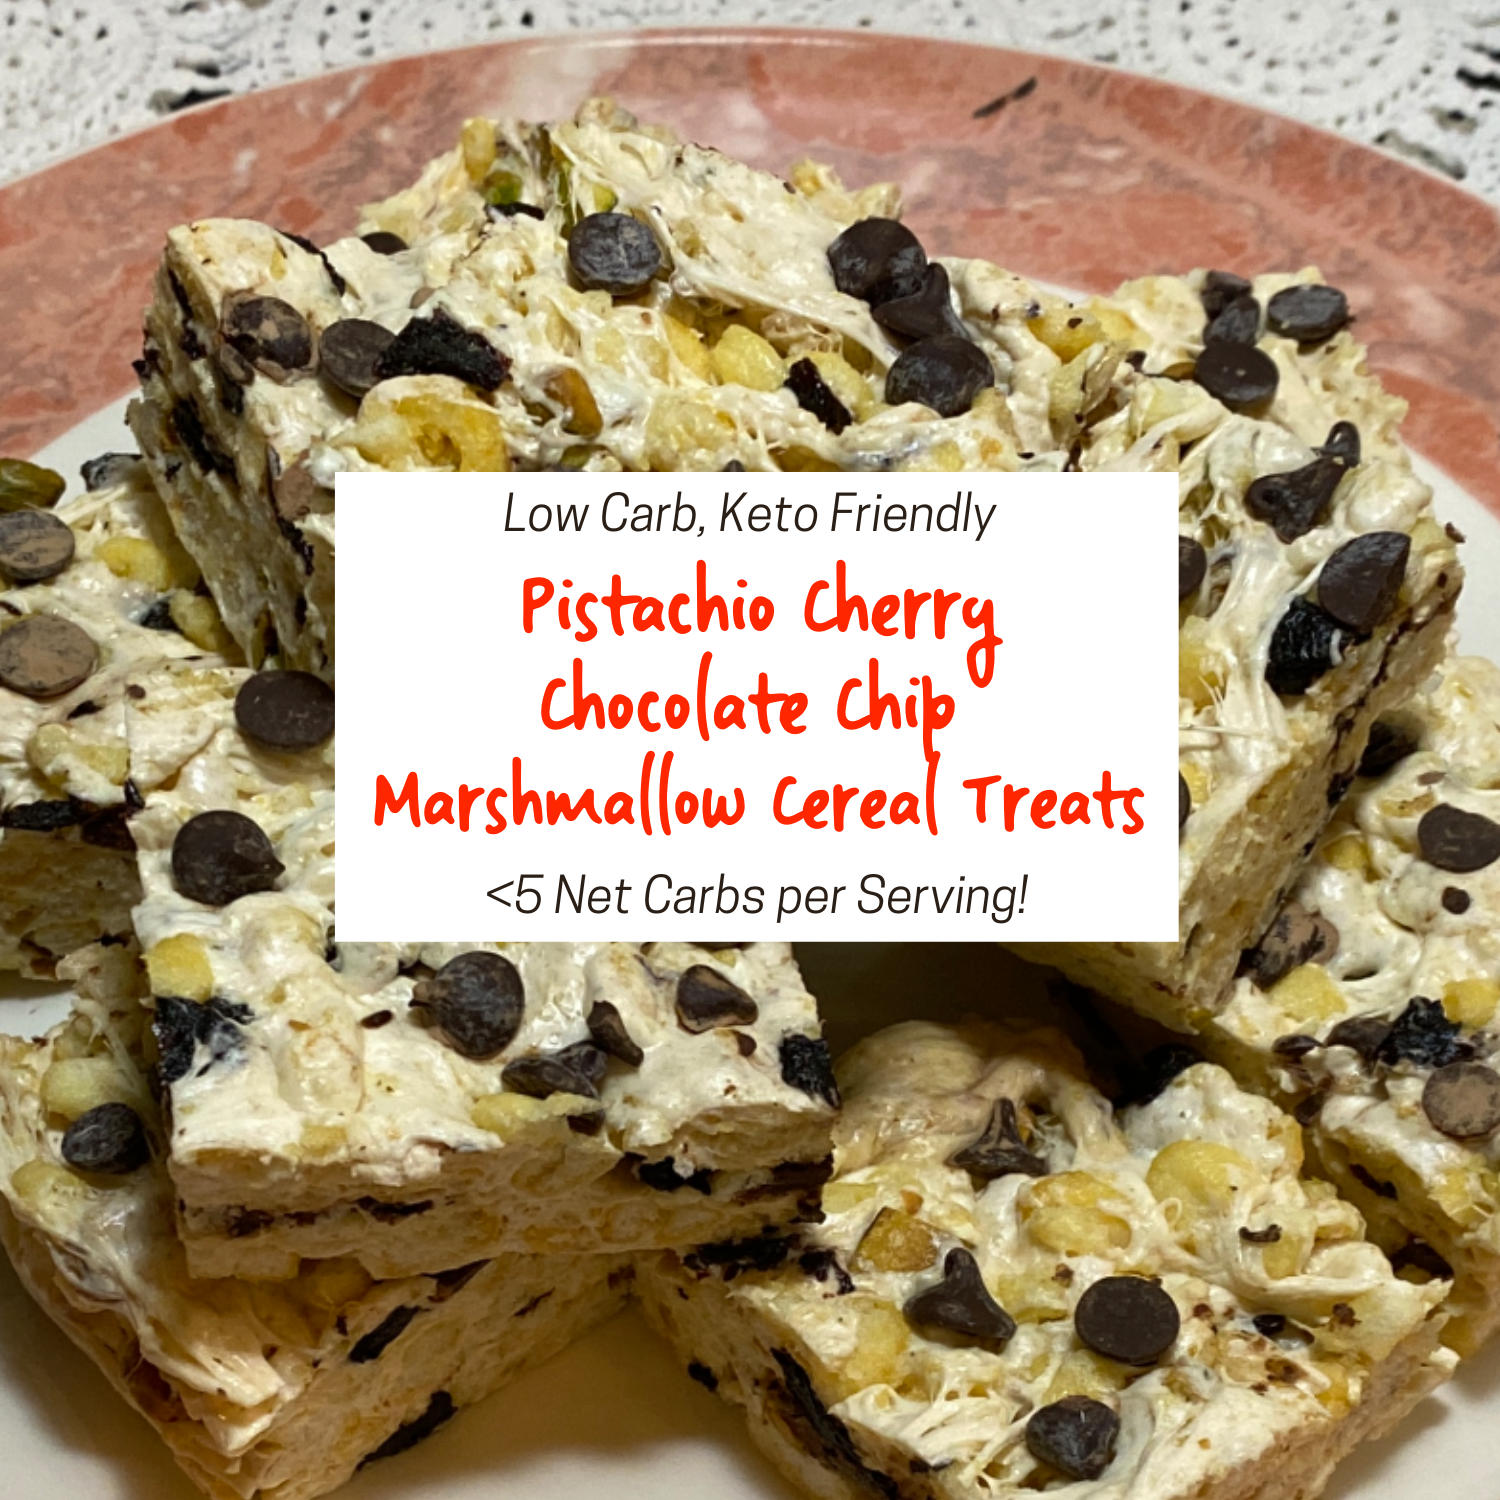
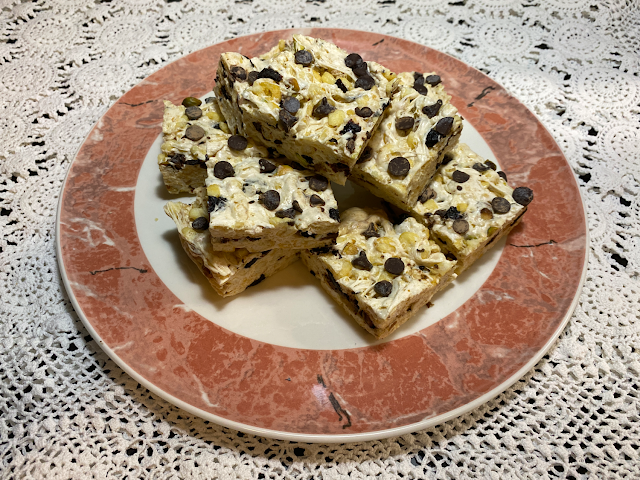
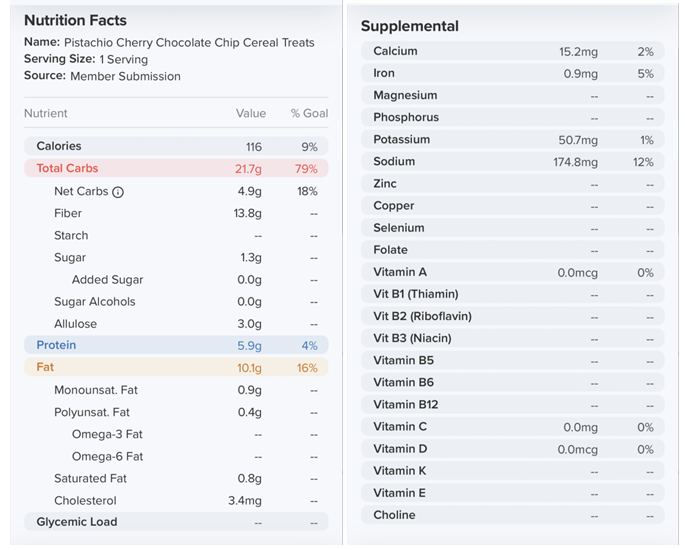
Healthy Pistachio Cherry Chocolate Chip Marshmallow Cereal Treats Recipe
Easy, Decadent, High Protein, Sugar-Free Rocky Road Cottage Cheese Ice Cream
The Best Quick & Easy Low Carb Sausage and Ricotta Calzones
How to Make Refreshing Vanilla Italian Soda (With or Without Cream)
Quick, Easy & Delicious Cheddar Corn Dog Muffins — Low Carb Recipe
Reviews of the Keto Diet by Barbara C. (aka Brite-Ideas)
How I Stayed Committed to the Ketogenic Way of Eating
.png "Colorful iLIDS for Mason Jars on Amazon")
.jpg "Dorm Room Essentials - 15 Must-Haves")
.jpg)