This review covers an easy DIY project to renovate old unremarkable furniture into something to grace our homes and fit with existing decor.
In our case we wanted a new dining table and chairs but the only ones we could find to fit our space and circular were very expensive. We did however find a lovely circular table and four chairs that were perfect for our needs and very comfortable at a very good price, but the issue was that they were a quite horrible orange pine colour.
I am not usually an advocate of painting wood. If it is beautiful oak, mahogony, rosewood or reclaimed wood I will not paint it.
However orange pine with a shiny finish is just not to us all that beautiful and did not fit in with the rest of our decor ideas for the dining room.
I am not deterred by a minor issue like this and we really liked the style and comfort of this dining set. So we bought the dining set and went about cleaning, sanding and painting.
Here I will tell you what we did with the chairs.
Step One Sanding Down Pine Chair
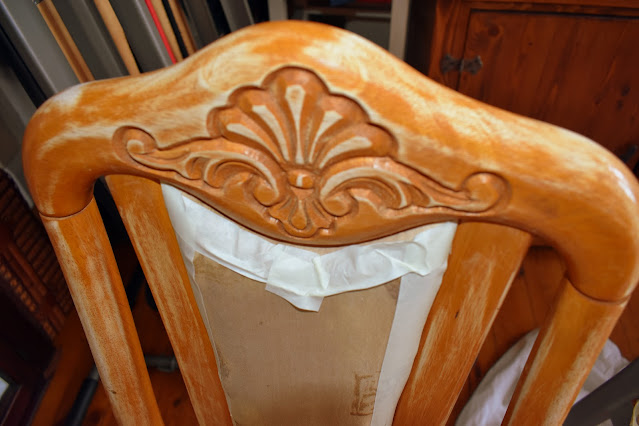
First it was important to sand down the wood. It had a shiny surface to it and I did not think even the best paint would go on well over such a shiny surface.
With some furniture paints they declare that you do not need to sand down first so it is always best to check the instructions and perhaps do a patch test to make sure if you need to sand or not.
So we sanded it with a fine sandpaper until all the shiny orange paint was no more!
It is important to do this step carefully and take your time as skimping on this preparation will affect the whole project.
I don't have a workshop or anywhere to do this kind of work so for me it was a case of clearing a room and laying down dust sheets and working on the floor. Of course a work table or ideally a workshop would be wonderful but this project is perfectly possible with none of this.
Step Two Cleaning The Chair
Next I cleaned the whole chair including the seat cushion and back.
The wood was cleaned with sugar soap and the chair with an upholstery cleaner. There is no real skill to this, all this took was time and following the cleaning instructions.
Then we left it all to dry.
Step Three Masking Tape
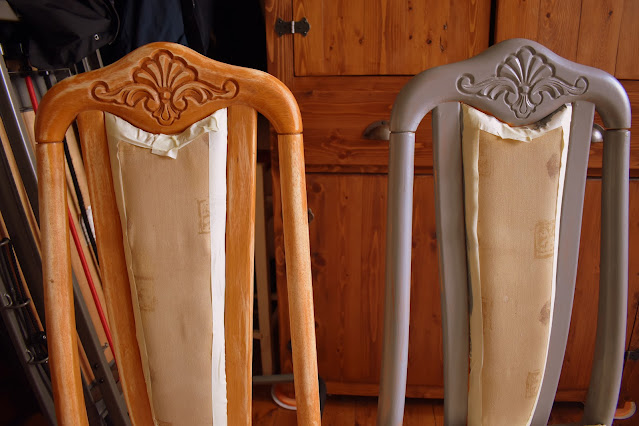
With a project like this it is important to use masking tape to mask off all the areas that you do not want to paint. I do find this step rather boring but it is necessary.
It is worth spending a little time over this as it is a lot more difficult to remove paint from where you do not want it than to simply mask it off beforehand and does make the painting process easier.
Step Four Painting The Wood.
After laying down sheets I set about painting the whole chair.
It needed to be done in two steps so that I could reach the whole wooden parts of the chair. So involved the chair standing up and laying down to reach it all.
As I had two chairs on the go at the same time this was possible to do without wasting time.
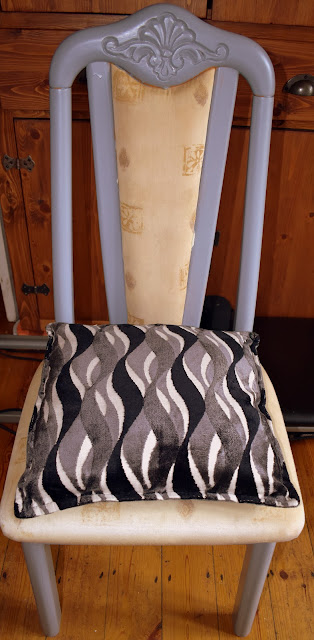
We chose a light grey colour. It did take two coats to cover the wood. I would always recommend two coats. A darker colour may have covered the wood more thoroughly with one coat but I always think two coats gives better coverage and longevity.
Furniture Paint.
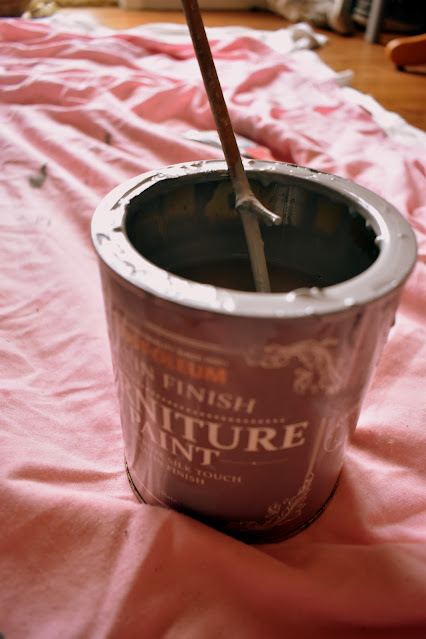
We used Rust Oleum Satin Finish Furniture Paint. It says on the tin it is a superior satin silky finish in slate grey.
I found that this paint went on very well and smoothly. I found it a really good paint to use. It did not have an overpowering smell and did not give me a headache as many paints do. It went on well although was a little drippy, so it was essential to have sheets down. It is necessary to stir it well before starting to paint.
The clean up is so easy as it is water based so it is just a case of wiping off most of the excess paint then washing in water.
If I had a workspace I might have used a Rustoleum furniture spray paint which may have speeded things up. However I was doing this project in winter in our dining room so a spray paint would not have been a good idea in these circumstances.
Any good furniture paint can be used, just choose the finish, application method and colour you like. I tend to go for water based and low odour for ease of use in the home and clean up afterwards.
Due to the space and how intricate some of the work was I used a small paintbrush and I think this was a good idea so that there was more precision.
After the first coat the finish did not look all that good but I always expect this.
I left it to dry thoroughly then applied a second coat and this is where the magic happens as the pine disappeared and the beautiful slate grey colour saturated the wood. I an no expert but I think the finish, even in the more difficult intricate parts is pretty good.
The four chairs took me two days to do at a fairly relaxed pace with lots of coffee breaks! It is a straightforward project that anyone could do really. All it takes is time and patience and a few basic painting skills.
The Supplies You Need For This Furniture Project
Furniture Paint or Rustoleum paint
Masking TapeOld sheets, dust sheets or anything you have to protect the floor
We think it was a worthwhile project and we now have a lovely dining set at a fraction of the price.
If we ever get fed up of the colour or go for a different scheme, it will be very easy to change with a light sanding and a coat of new paint.
More Reviews
Reviewing Restoring A Metal Garden Swing Seat
More Reviews By Raintree Annie
Crafts & DIY Reviews By Contributors On Review This Reviews
Product Reviews By Contributors On Review This Reviews


