

 |
I love looking for ways to enhance our garden and to expand my areas for planting. Whether you have a small garden or a patio or balcony or a large garden with fences that look more bare than you would like a pot holder is a lovely idea to increase areas for planting and to brighten up the garden.
These metal hanging over the fence pot holders are usually not very large, but not too small either and have a hole at the base to allow water to drain away.
Reasons To Buy a Hanging Over Fence Metal Pot Holder
Good Looking
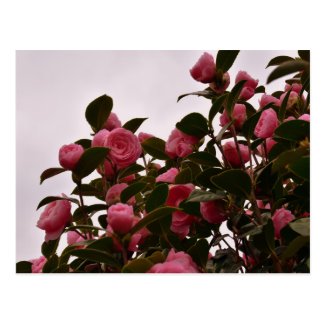
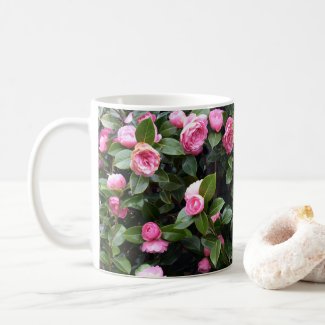
They look lovely! Whether your garden is very modern contemporary or traditional, quirky or cottage garden these metal pot holders can fit into the scheme and compliment your garden design. They come in many different finishes from painted metal in many different colours dark or light, vibrant to pastel to natural colours, to steel and copper. So there is a option that will be suitable for most people and most gardens.
Drainage
When planting into any container drainage is vital for the health of your plants. Without it they may suffer rot and just become waterlogged and die. As these pot holders have a decent drainage hole at the base excess water can flow away . I like to put a crock over the drainage hole or a layer of gravel to ensure that it doesn't become blocked by soil or compost.

Space Saving
If you garden in a small space such as a balcony or patio it can be very helpful to make use of walls and vertical spaces. If you have several pot holders you can easily make a beautiful hanging display of flowers or foliage to cover the wall or fence. This can really make a significant impact in a small space.
Even in a larger garden it is good to cover bare fences and lovely to have more space to fit those smaller plants to make a beautiful display.
Longer Lasting
These metal planters are more durable than wood or even plastic and are more weather resistant. So we can safely leave them out in rain or snow or brilliant sunshine and they should be alright.
Planting Options
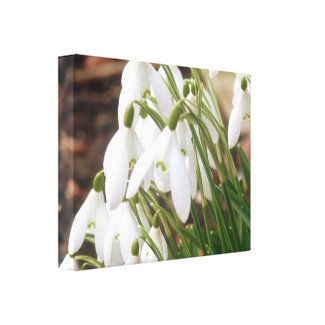
You can grow a wide variety of plants in these pot holders. Herbs do well as the drainage is so good. Flowers look amazing. Hanging or trailing plants add a lovely dimension. You could even try smaller vegetables or small salad plants. As they are portable and easily moved you can move them to where the plants will be most happy for example in full sun or part shade. I like growing herbs in them, particularly sun loving herbs like Thyme that do not need too much water. So if I forget to water them it is not a disaster.

Easy to fit.
Hanging pots are so easy to install in the garden. The ones we bought came already fixed with a hook and are not detachable so we simply planted them up then hung them over our fence with the hook. This took a few minutes and required no tools or knowledge. We had checked that the hook was large enough to fit over the fence. If you do not have a fence it may mean installing a bracket or something they can hang over but that can be something very simple. If you buy pots that have detachable hooks or other fixings then they may require some assembly.
KINGLAKE Flower Pots,10 Pcs Metal Iron Hanging Flower Plant Pots 4'' Flower Holders with Detachable HookCheck PriceDahey 10 Pcs Hanging Flower Pots Metal Iron Bucket Planter Flower Holders with Detachable Hooks, Black, 4 InchesCheck Price
Aspects To Bear In Mind About Hanging Metal Pot Holders
As these pots are quite small you must only fill them with small plants. This might mean that you will need to move plants out of them if they get too big for the pot. You will notice this if you see the roots growing through the drainage hole or roots growing on the surface of the soil.
In warm weather you will need to water quite often, possibly as often as once a day. This can be seen as a chore, or a lovely way to reconnect with your plants and check them over each day. The best thing to do is to check with a finger if the first inch of the soil is dry, if it is then water.
It is better to use a gentle watering system like a long spouted watering can or a hosepipe on a very gentle spray. If you use too forceful jet it will just displace the soil and be a bit harsh on the plant.
If hanging over a fence in the garden then the drainage is no issue. However if you are hanging them on your balcony or patio you may find it beneficial to have something underneath them to catch the drained water. I feel it is a good idea to have another potted plant underneath, that way you catch the water and water the ground plant at the same time!
Always check the size of the pots as you want to make sure they are not too small for your needs. Some are round pots with one hook and some are oval shaped or oblong shaped usually with a double hook and more space. Check measurements carefully to ensure they and the hooks will fit your fence or brackets properly.
Some of the pots have a fixed hook and others a detachable hook. Both are great for this purpose. However if you have a detachable hook then you can use the pot as a freestanding planter on a surface as well more easily. The ones with detachable hooks may need some assembly though, so read each option carefully.
LaLaGreen Rail Planter Outdoor Plants(5 Pack, 11.8 Inch) Black Metal Iron Hanging Flower PotsCheck Price8 Pack Metal Hanging Planters for Railing Balcony 10.6" & 5.1"Multicolor Hanging Flower Pot with Detachable HooksCheck Price
I like to buy pots like these so that they are grouped together in some way so to buy 3 or 7 or more to have a fuller display always looks better to me than a single one.
Over fence metal hanging pot planters are a lovely addition to any garden whatever your style. They are very useful as you can use the vertical space in your garden which is often underutilised. They are practical and beautiful and really optimise the space in your garden.
Read More Gardening Reviews on ReviewThisGardening.com
Read Diary Of A Wild Country Garden Blog
Visit Raintree Earth Designs for gifts and cards designed with nature photography
Reviewing Over Fence Hanging Metal Pot Planters by Raintree Annie


