

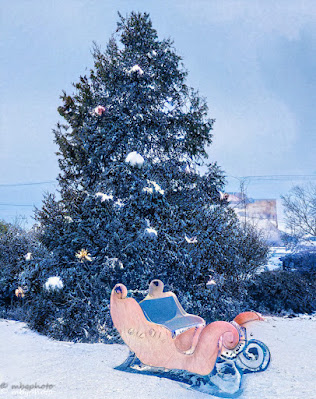
Winter Scene in Photo Shop
When I got home and edited my photos from my trip on Main Street, I
decided to try some of the new Neural Filters in Photoshop. I opened
my photo in PS and then went to the filter tab. I clicked on Neural
Filters and when that box opened up, I looked down the left column and
clicked on the landscape feature. I now had several options at that
top showing various landscape scenes. I clicked on one showing a
winter scene with snow and it was quickly applied to my photo with the
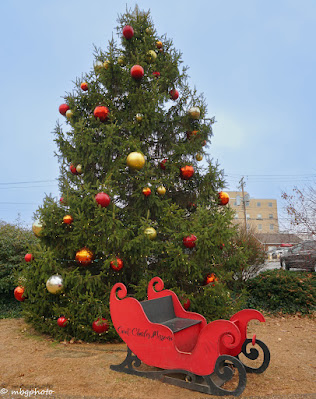
result you see in the photo above. Here is what the original photo
looked like.
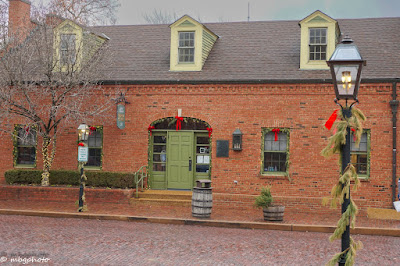
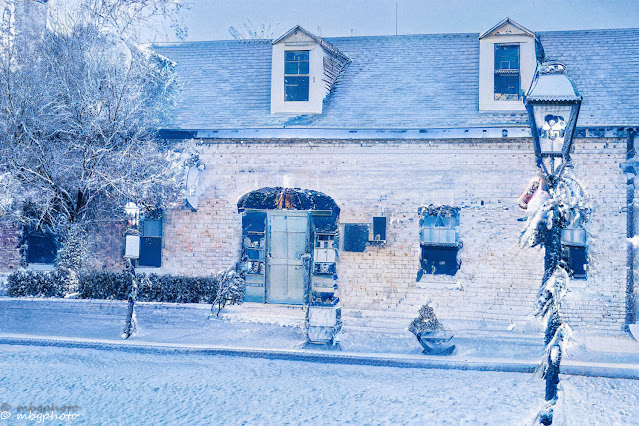
I really think this feature could work well in creating a winter holiday card. Here is another before and after in using this feature. This one is a photo of the visitor center all decked out for the holidays.
Here is the before photo.
|
|
St. Charles Visitor Center |
|
|
Photo with Winter filter Applied |
More Neural Filter Choices in Photoshop
There are quite a few different filter choices in the 2021 updates. Along with the winter scene there are also landscape choices where you chose what season you would like to make your photo. Here is a photo I took at a farm at the beginning of autumn before the colors were really popping. I used the autumn filter to give it a real autumn color scheme.
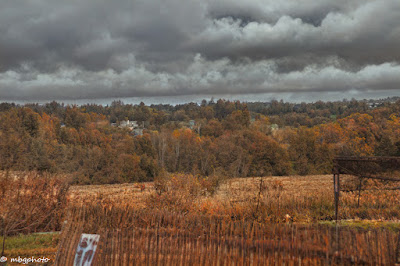
|
| Autumn at the Farm |
Another series of filters in the neural filter line is the artist series. In this group of filters, the styles are changed to fit various artists styles. You might find a Monet style or a Van Gogh style among many other styles. The artists are not listed, you just have to recognize their styles. That is one thing I hope they will change in the future. I would love to know what artists style each filter is emulating. Here is a barn door photo that I took at a farm and then edited it using the first artists filter available in the artist section.
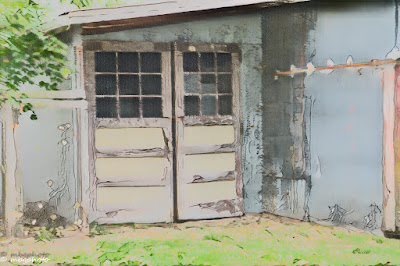
|
|
New Artist Style #1 |
Purchase Creative Cloud Subscription
Note: The author may receive a commission from purchases made using links found in this article. “As an Amazon Associate, Ebay (EPN), Esty (Awin), and/or Zazzle Affiliate, I (we) earn from qualifying purchases.”
FOLLOW US ON:


