Review of Tips for Photographing Water after Dark
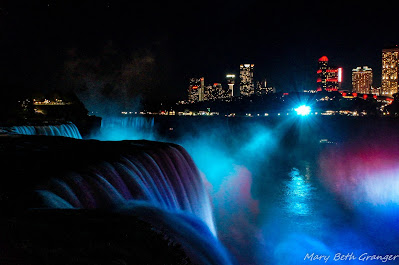
In past articles I have discussed photographing at night and photographing water falls. In this post I will be combining the two. In September we stayed overnight at Niagara Falls in New York and I was able to photograph the beautiful falls at night. The photograph above shows the American Falls in the foreground, the Bridal falls in the mid section and a glimpse of Horseshoe Falls in the background. The building you see in the back are the Canadian side of the falls. In order to capture the smooth look to the water I used a tripod and a remote shutter release. Here are my tips for shooting smooth waterfalls at night. It helps when they are lit up in beautiful colors like Niagara Falls.
- Always use a tripod for best results
- Use a remote shutter release for extra stability
- Use a slow shutter speed...the photo above was shot at .4 sec This gives you the smooth look of the water. If you want a less smooth look than increase your shutter speed.
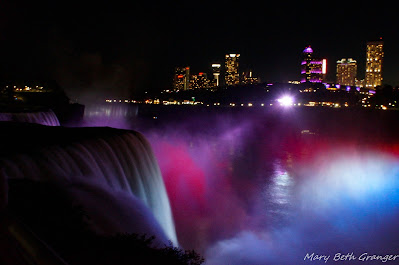
In the photo above and the one below I was using a wide angle 24mm setting and an ISO of 3200 along with an aperture of f11.
Rapids Leading to the Falls
Another great photo at Niagara Falls is shooting the rapids leading up to the falls. In the photo above I was able to capture the rapids and a beautiful full moon in the sky. For this photo I held my camera open for 2 seconds and got the bursts of light from the moon and the lights on the bridge along with the smooth look to the rapids.
For another view of Niagara Falls see the mug below. On this photo I shot during the daytime without a tripod an used a faster shutter speed.
Note: The author may receive a commission from purchases made using links found in this article. “As an Amazon Associate, Ebay (EPN), Esty (Awin), and/or Zazzle Affiliate, I (we) earn from qualifying purchases.”


