

 |
| Photo's by Lou16 |
Don't use a cuticle oil? You're not alone, it's a step many people miss out when they do their nails at home. I must admit, but cuticles were in pretty bad shape and I would just rub my hand cream into them and think 'oh well, that's just my cuticles!'
This year I've decided to treat myself my getting my nails done once a month (well it's about every three weeks, but my husband thinks it's a monthly thing LOL!) and I do love it when they pop on the cuticle oil at the end. My cuticles are looking much better, but they would look even better if I used it a little bit more often.
Now I like the idea of using natural products and not having some of the additives that you find in some skincare/personal care products being present. I also know that lemon oil is great for softening cuticles, I just had to look for some cuticle oil recipes ...
There are so many recipes for DIY cuticle oil that they would make your head spin, but many of them used so many ingredients that it just seem such an effort. Using sweet almond oil, jojoba oil, vitamin E oil and about 5 different essential oils just seemed a lot for me to recommend to people, after all we don't have all these ingredients just lying around the house do we?
Well I found a recipe that used olive oil and just two essential oils and I changed the essential oils (based on my own aromatherapy knowledge, and on what I had on hand) and I've come up with the easiest cuticle oil ever -

Easy DIY Cuticle Oil That Your Nails Will Love!
4 tbsp extra virgin olive oil
2 drops pure lemon essential oil
2 drops pure lavender essential oil.
Simply mix the ingredients together and keep in a bottle, I recommend seeing if you can find a nail polish style of bottle with a nail polish brush to keep it in (they didn't have any at my local store) or even a roller bottle.
These type of bottles will made it easier to apply, but aren't essential. As you can see from my photo I just used a test tube style bottle (as I had it on hand) and I use a Q-tip to add the oil around my nails. I will let you know, however, that I have some roller bottles on order.
Lemon oil is fantastic for softening hard skin which is why it's a perfect addition to a cuticle oil. Lavender oil is a very nourishing oil, softening and just great for skin. The combination of these two oils works fantastically to help keep your cuticles looking fabulous and as an added bonus, using a cuticle oil after a manicure actually helps it stay looking beautiful for longer something I've only just found out!
EXTRA TIP - if you take vitamin E capsules then simple pierce one of them and squeeze the contents into the cuticle oil. It will make the oil even more moisturizing and rich (a much cheaper alternative to adding vitamin E oil!).
It's very important that you use pure essential oils and not synthetic ones when making your own skincare as each essential oil brings it's own benefits and fragrant oils don't have these benefits.
I love to use Arbonne's essential oils when available, if I'm after an oil that they don't have then I make sure that the one I buy is 100% pure essential oil.
Aromatherapy Isn't Just About DIY Skincare!
You can use essential oils for lots of different things, here's a few articles that you might find interesting ...
 How Aromatherapy Can Help Stress
Aromatherapy has proven to be very successful at helping to relieve stress, simply by using certain essential oils stress and conditions caused by stress can be alleveiated.
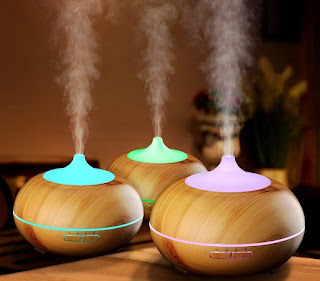 Essential Oil Room Humidifier and Diffuser
Using essential oils in a humidifier or diffuser can add a lovely atmosphere to a room as essential oils can really help to work on your emotions from relaxing you or making you more upbeat.
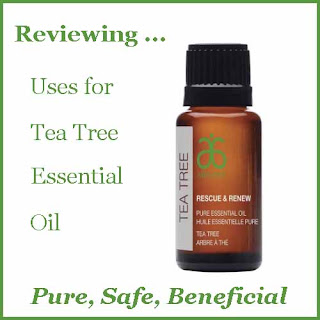 Reviewing Uses for Tea Tree Oil
The herbaceous fragrance of tea tree doesn't begin to hint at how many uses there are for this essential oil from medicinal to beauty to household uses this is one very versatile essential oil.
 |
| PIN ME |
Note: The author may receive a commission from purchases made using links found in this article. “As an Amazon Associate, Ebay (EPN) and/or Esty (Awin) Affiliate, I (we) earn from qualifying purchases.”
FOLLOW US ON:


 called 'The Thinker'")


